3D scanning for reverse engineering a Formula 1 car and 3D printing a mini copy
The Goal: To use two different 3D scanners to scan the Formula 1 car in its entirety, capturing the whole car from top to bottom with the highest levels of detail and speed.
Tools Used: Artec Eva, Artec Studio
Artec’s 3D scannersare indispensable tools, used throughout all of a product’s lifecycle (PL) stages. Ranging from creating prototypes to reverse engineering, or making a3D modelfor quality control analysis of data, 3D scanning is vital to achieving the fastest workflow.
Reverse engineering involves capturing the technological details and composition of an object in order to augment, improve or recreate it. Used in a variety of industries, such as industrial engineering, automotive, aviation, manufacturing, electronics and many others, it allows replicating the initial object by capturing, analyzing and disassembling its digital 3D replica.
The use of 3D scanning for reverse engineering is becoming more popular than ever before, due to the precise results achievable and the ease of use. Artec’s 3D solutions provide both impressive accuracy as well as the ability to capture an object in 3Dat speed, while the smart post-processing software, Artec Studio 11 is able to process large amounts of data automatically in order to create the 3D model. Moreover, due to the portability of the devices, they are able to get to the object’s hard to reach places, and when coupled with the battery pack, do not require a fixed power source.
A great example of using 3D technology for reverse engineering is this project initiated by a Birmingham-based tool manufacturer that tasked Artec’s British partnersCentral Scanningand a leading supplier of CAD & CAM solutions Delcam with making a scale 3D replica of their F1 car so it could be 3D printed at a size of approximately 300 mm.
The car was 3D scanned, and then the collected data was processed in Delcam’s reverse engineering software package PowerSHAPE.
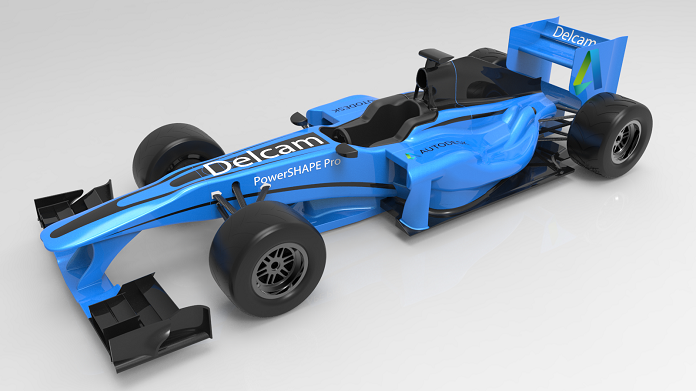
The finished model of the F1 car in PowerSHAPE.
“This scan was done by us as a test to see what could be achieved using two types of scanning systems,” said Paul Smith of Central Scanning.
The main body of the car was captured using a Steinbichler Comet L3D, and then the driver’s cockpit, steering wheel, wishbone suspension, rear spoiler, wing mirrors and areas that could not be easily reached with Steinbichler Comet were 3D scanned with Artec Eva.
“We selected the Eva because of its portability and speed, plus we do not need to add markers, it easily follows the graphics,” Paul said.
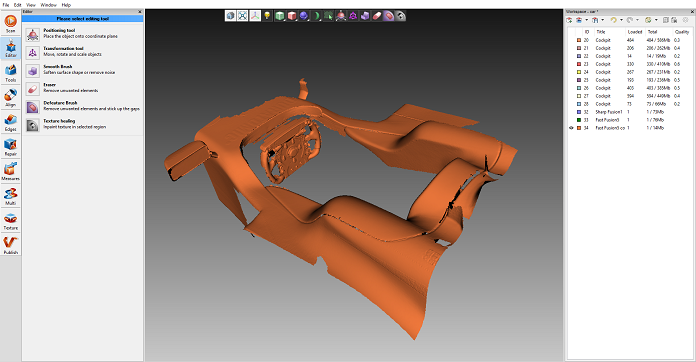
Part of the cockpit in Artec Studio 10.
The car was 3D scanned in the owner’s reception area and workshop; both areas had good stable lighting but no direct sunlight because this would affect the data capture.
Paul has shared with us a few tips on how to capture car parts easier.
“Adding something behind the wishbone suspension units, like paper with graphics, enables the scanner to track the texture and capture the geometry of the thin wishbone,” he said.
There were some dark carbon fibre areas around the wishbones – those were sprayed very lightly. Light reflections around the spoiler areas were also sprayed lightly to ease and quicken the capture.
“We liked using Artec Eva because it needed no calibration and was quick to set up and capture in these tricky areas,” Paul said.
Most of the data was processed using standard settings and without texture during global registration to speed up the process. The Artec and Steinbichler big data sets were then merged in PolyWorks.
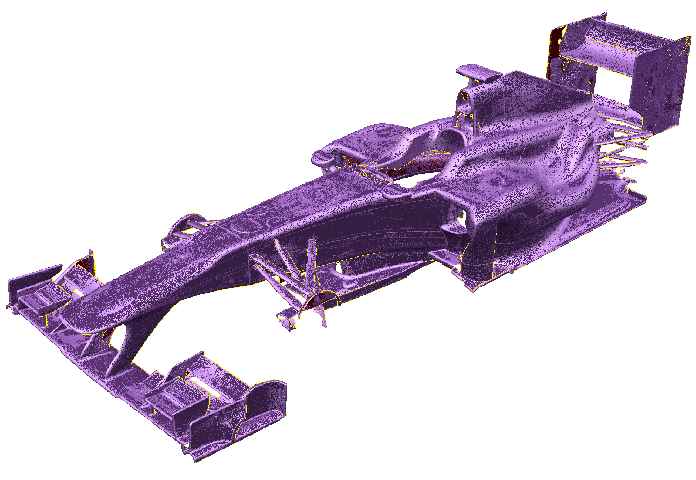
The mesh created from the 3D data.
The completed 250Mb STL 3D model, approximately 8.5 million triangles, was then fully reverse engineered at Delcam using PowerSHAPE Pro. Complex doubly-curved regions were most suited to surface modeling, while more prismatic parts could be formed most efficiently using solids.
As James Slater of Delcam explained, “The front and rear fins of the car were modeled as solids, created by taking sections through the mesh, extruding them and then merging the separate pieces together using simple Boolean operations. This work was actually done by a summer placement student, who had only had one week’s training before embarking on the project. Meanwhile, one of our more experienced engineers was tackling the more demanding surface construction needed for the body. The end result was a fully detailed, hybrid surface and solid 3D model that would be virtually impossible to make using any other software. Of course, one of the most important things in any RE project is to have a high quality, accurate mesh to start with.”
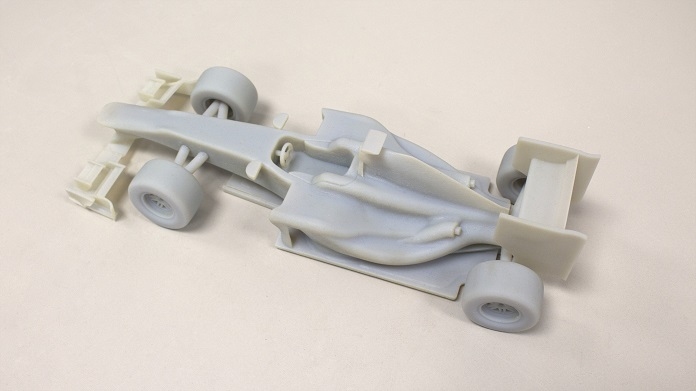
The printed 3D replica of the F1 car.
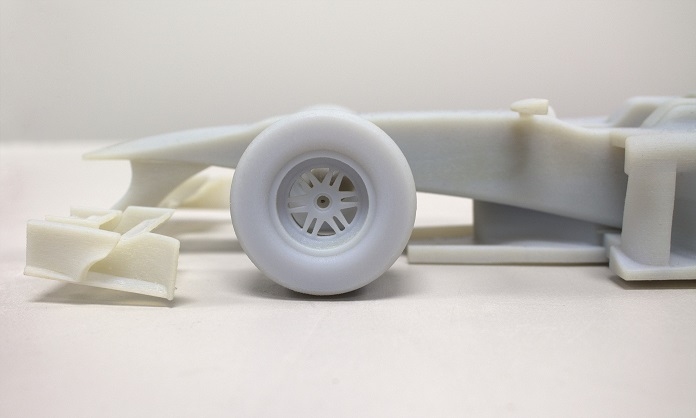
A close-up of the scale model of the F1 car.
The car was surfaced at full size. Once it was scaled down, some of the thinner areas, in particular the wishbones and spoilers were thickened up in PowerSHAPE. The digital copy of the car was then 3D printed on Objet Eden 500V with a print layer of 0.016 mm.
Scanners behind the story
Try out the world's leading handheld 3D scanners.


